
Since we are sharing photos of every day moments for the session giveaway, I thought it would be a good time to talk about some ways you can get better images when using your phone’s camera.
I don’t love calling these tips. They are more things I have learned the hard way, but that didn’t exactly make for a catchy title. Some of them may seem to directly contradict each other, I know. But they are not hard and fast rules, as much as ideas and suggestions. A few small tweaks that can help you get images you love with the camera you always have with you.
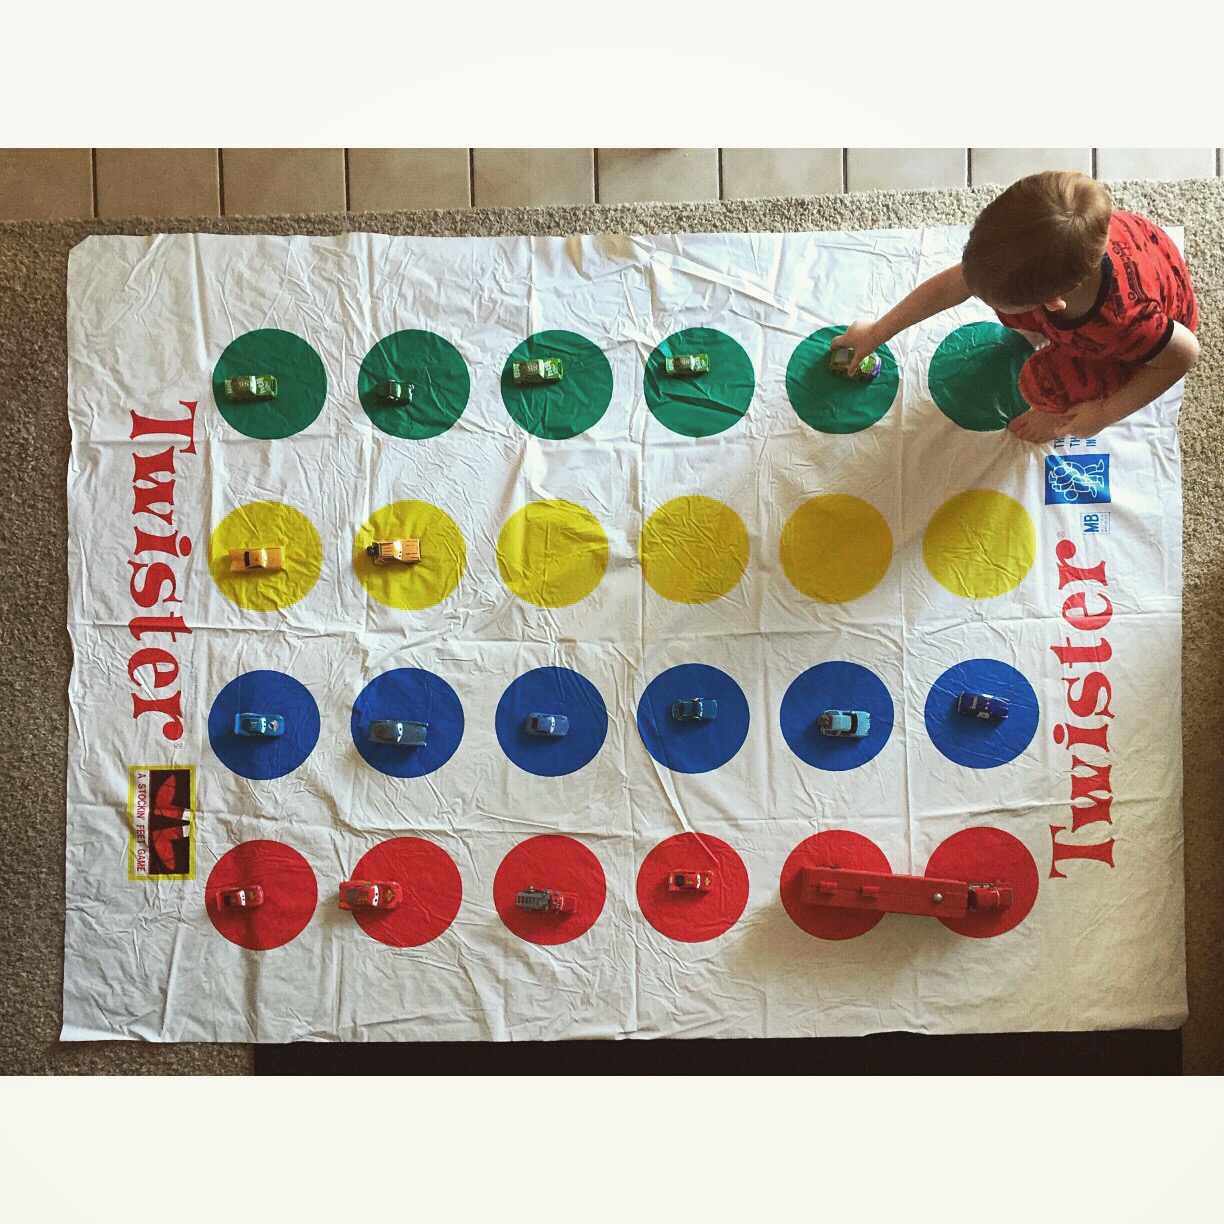
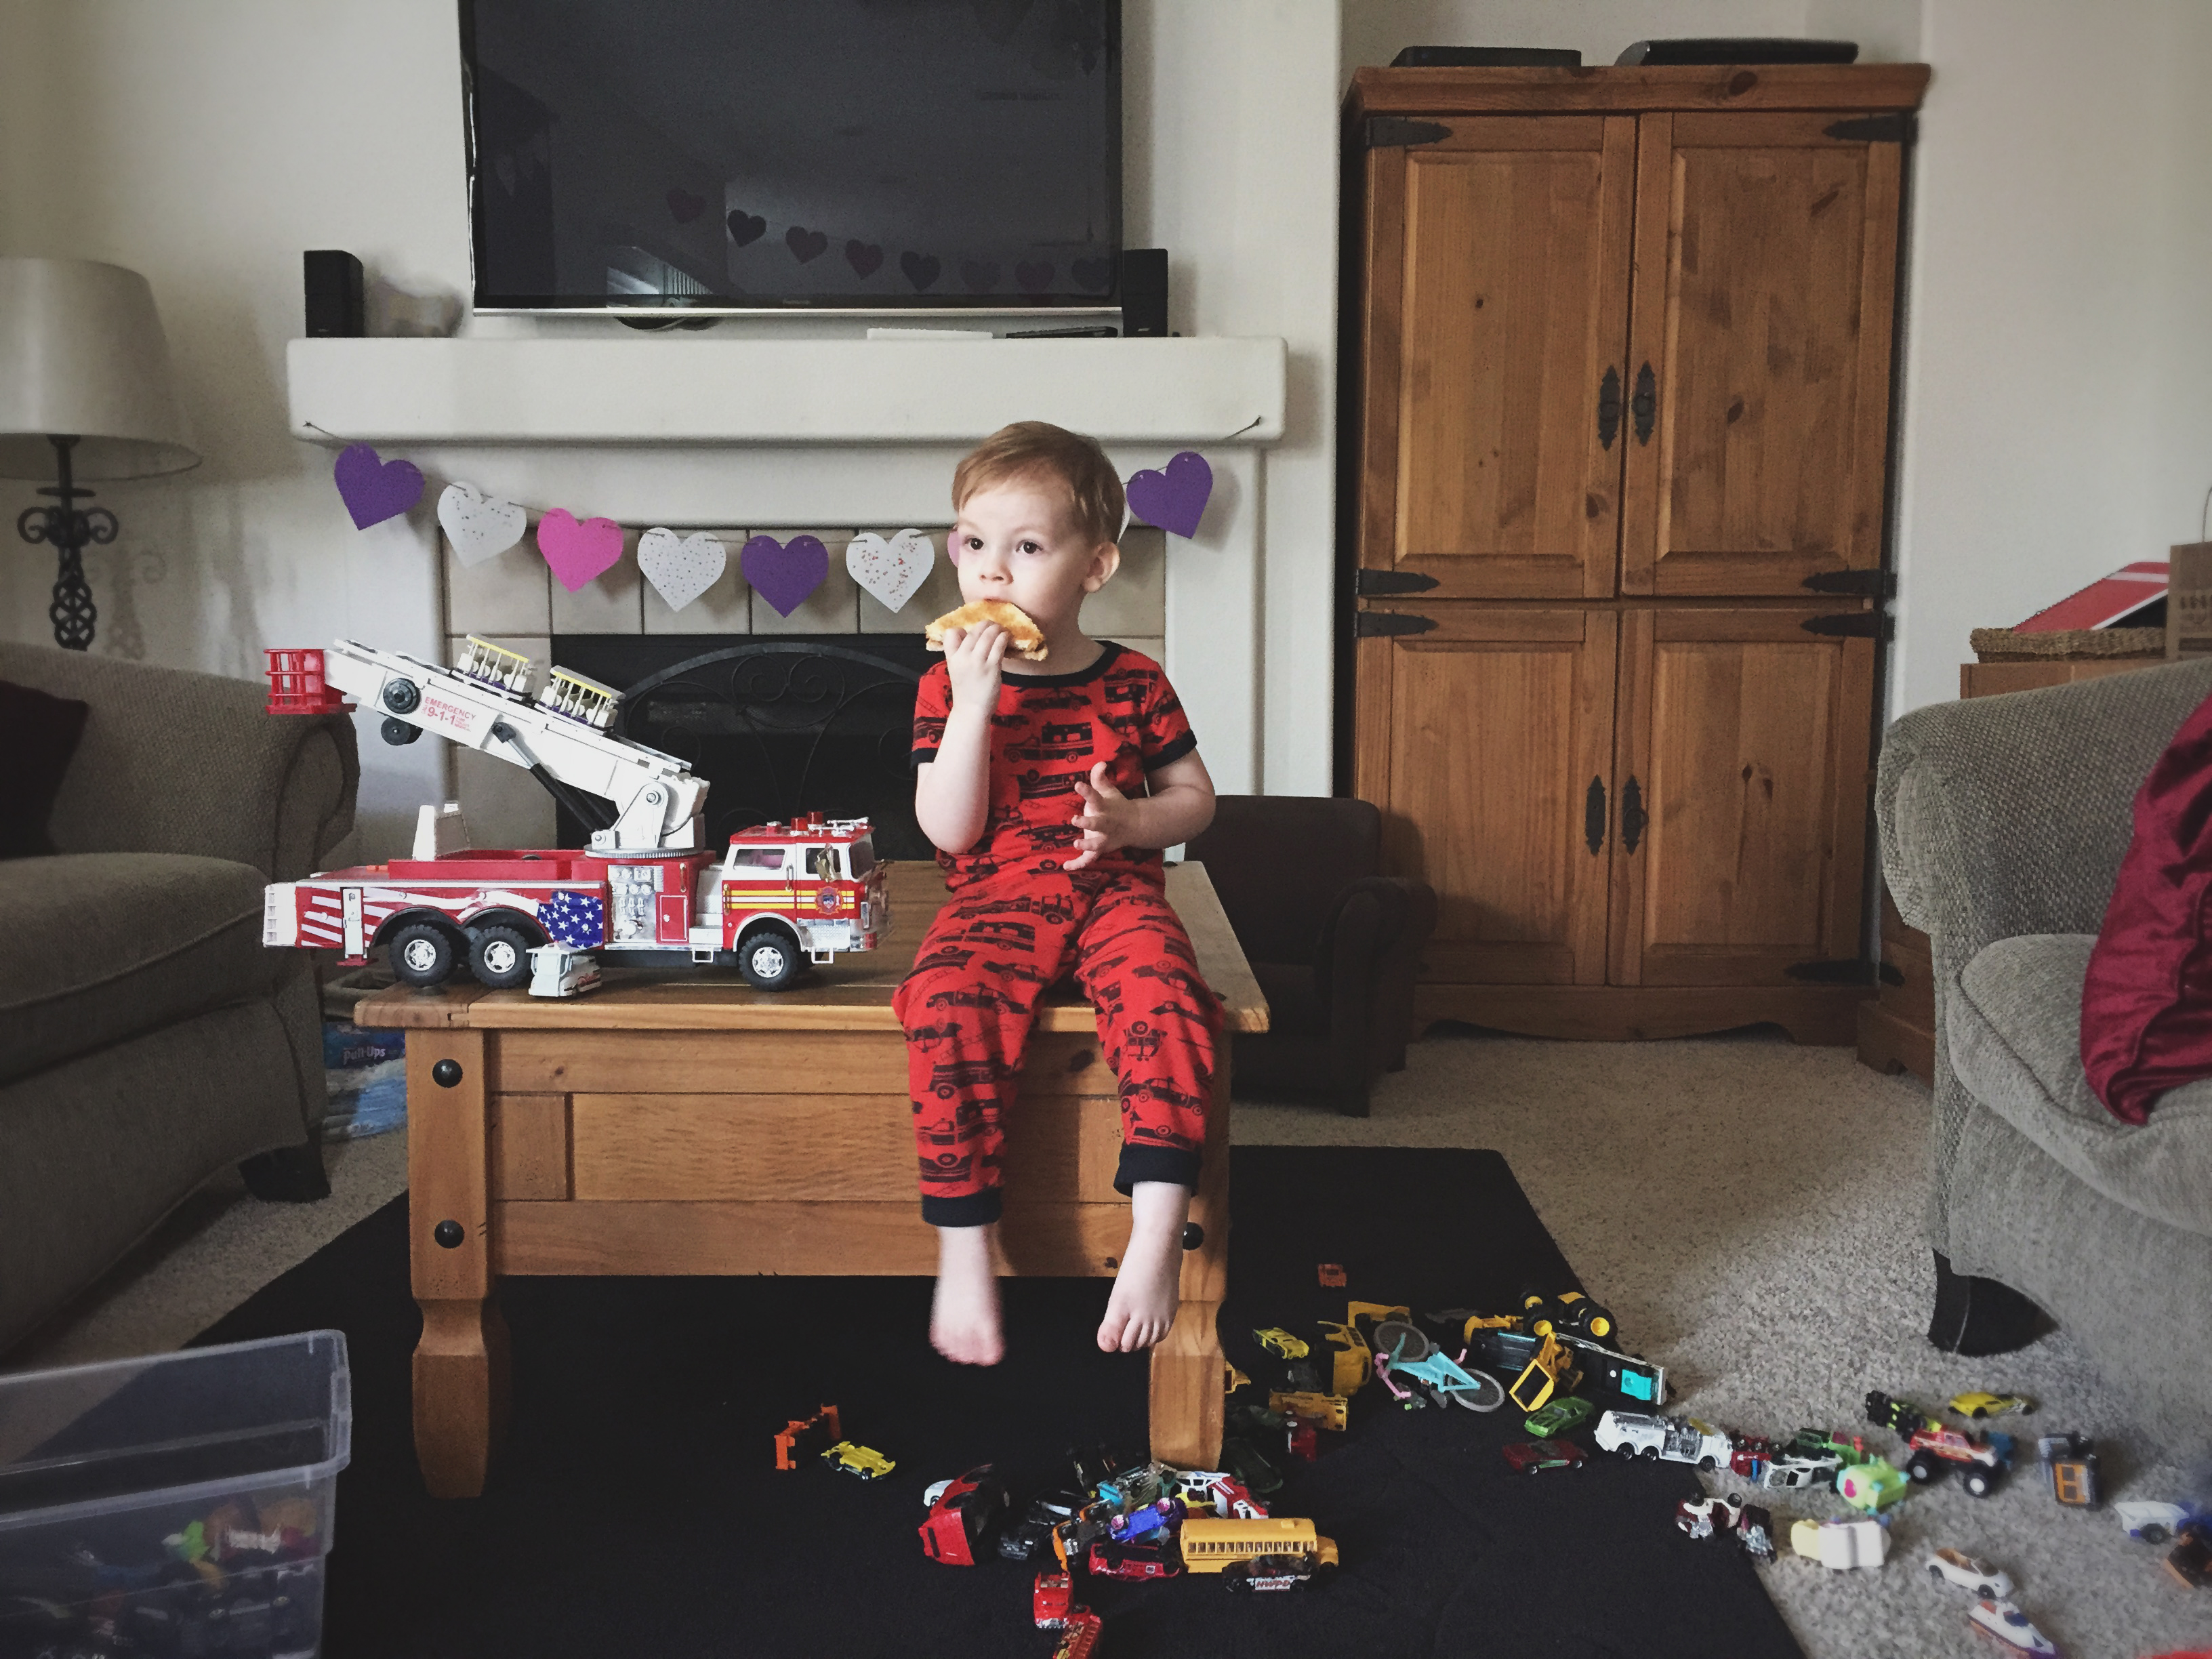
1. Change up your perspective.
So often, we are so focused on taking the picture, that we don’t think about moving around a bit. Would it look more interesting from the other side? Higher? Lower? Getting lower is especially beneficial when taking photos of kids. It puts you at their level and brings you into their world. Next time your kids are playing on the living room floor, try taking shots from as many different perspectives as you can think of. You will quickly notice the different feel that each view has.


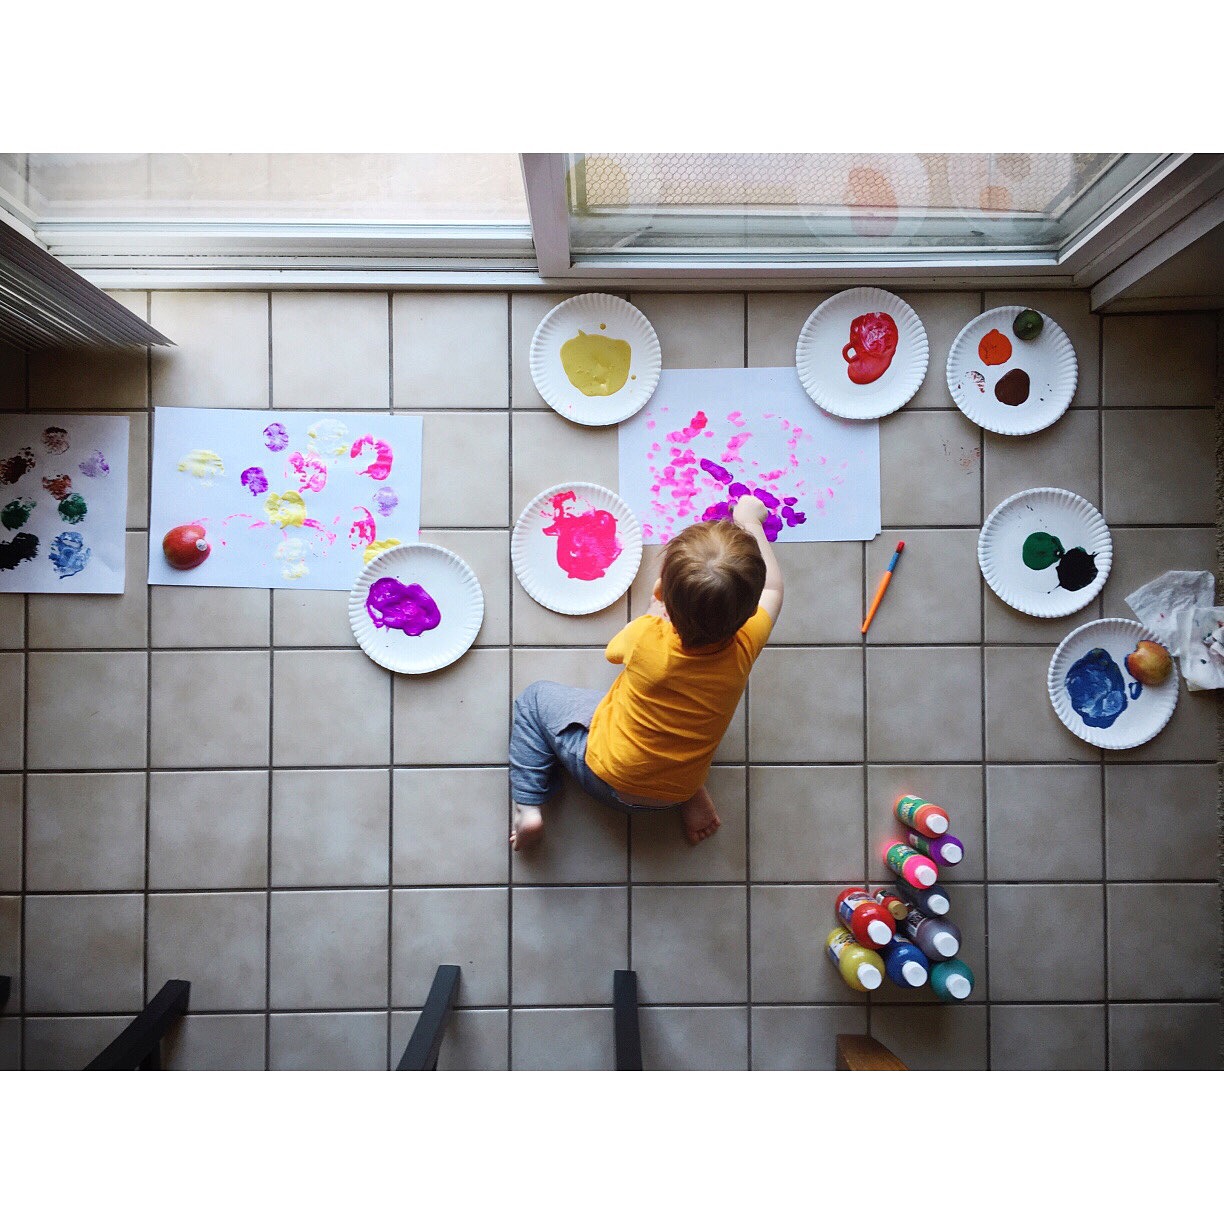

2. Look for good light.
Light can make or break a photograph. If you can take a second to see where the light is falling on your subject, and move yourself to take advantage of that, it will make a tremendous difference. This doesn’t mean the more light the better. Bright sunlight can give people terrible, dark racoon eyes. Sometimes turning your subject even just a little can help eliminate unflattering shadows. If you are inside, avoiding fluorescent light, moving closer to a window, turning on more lights, or opening blinds can all be helpful.
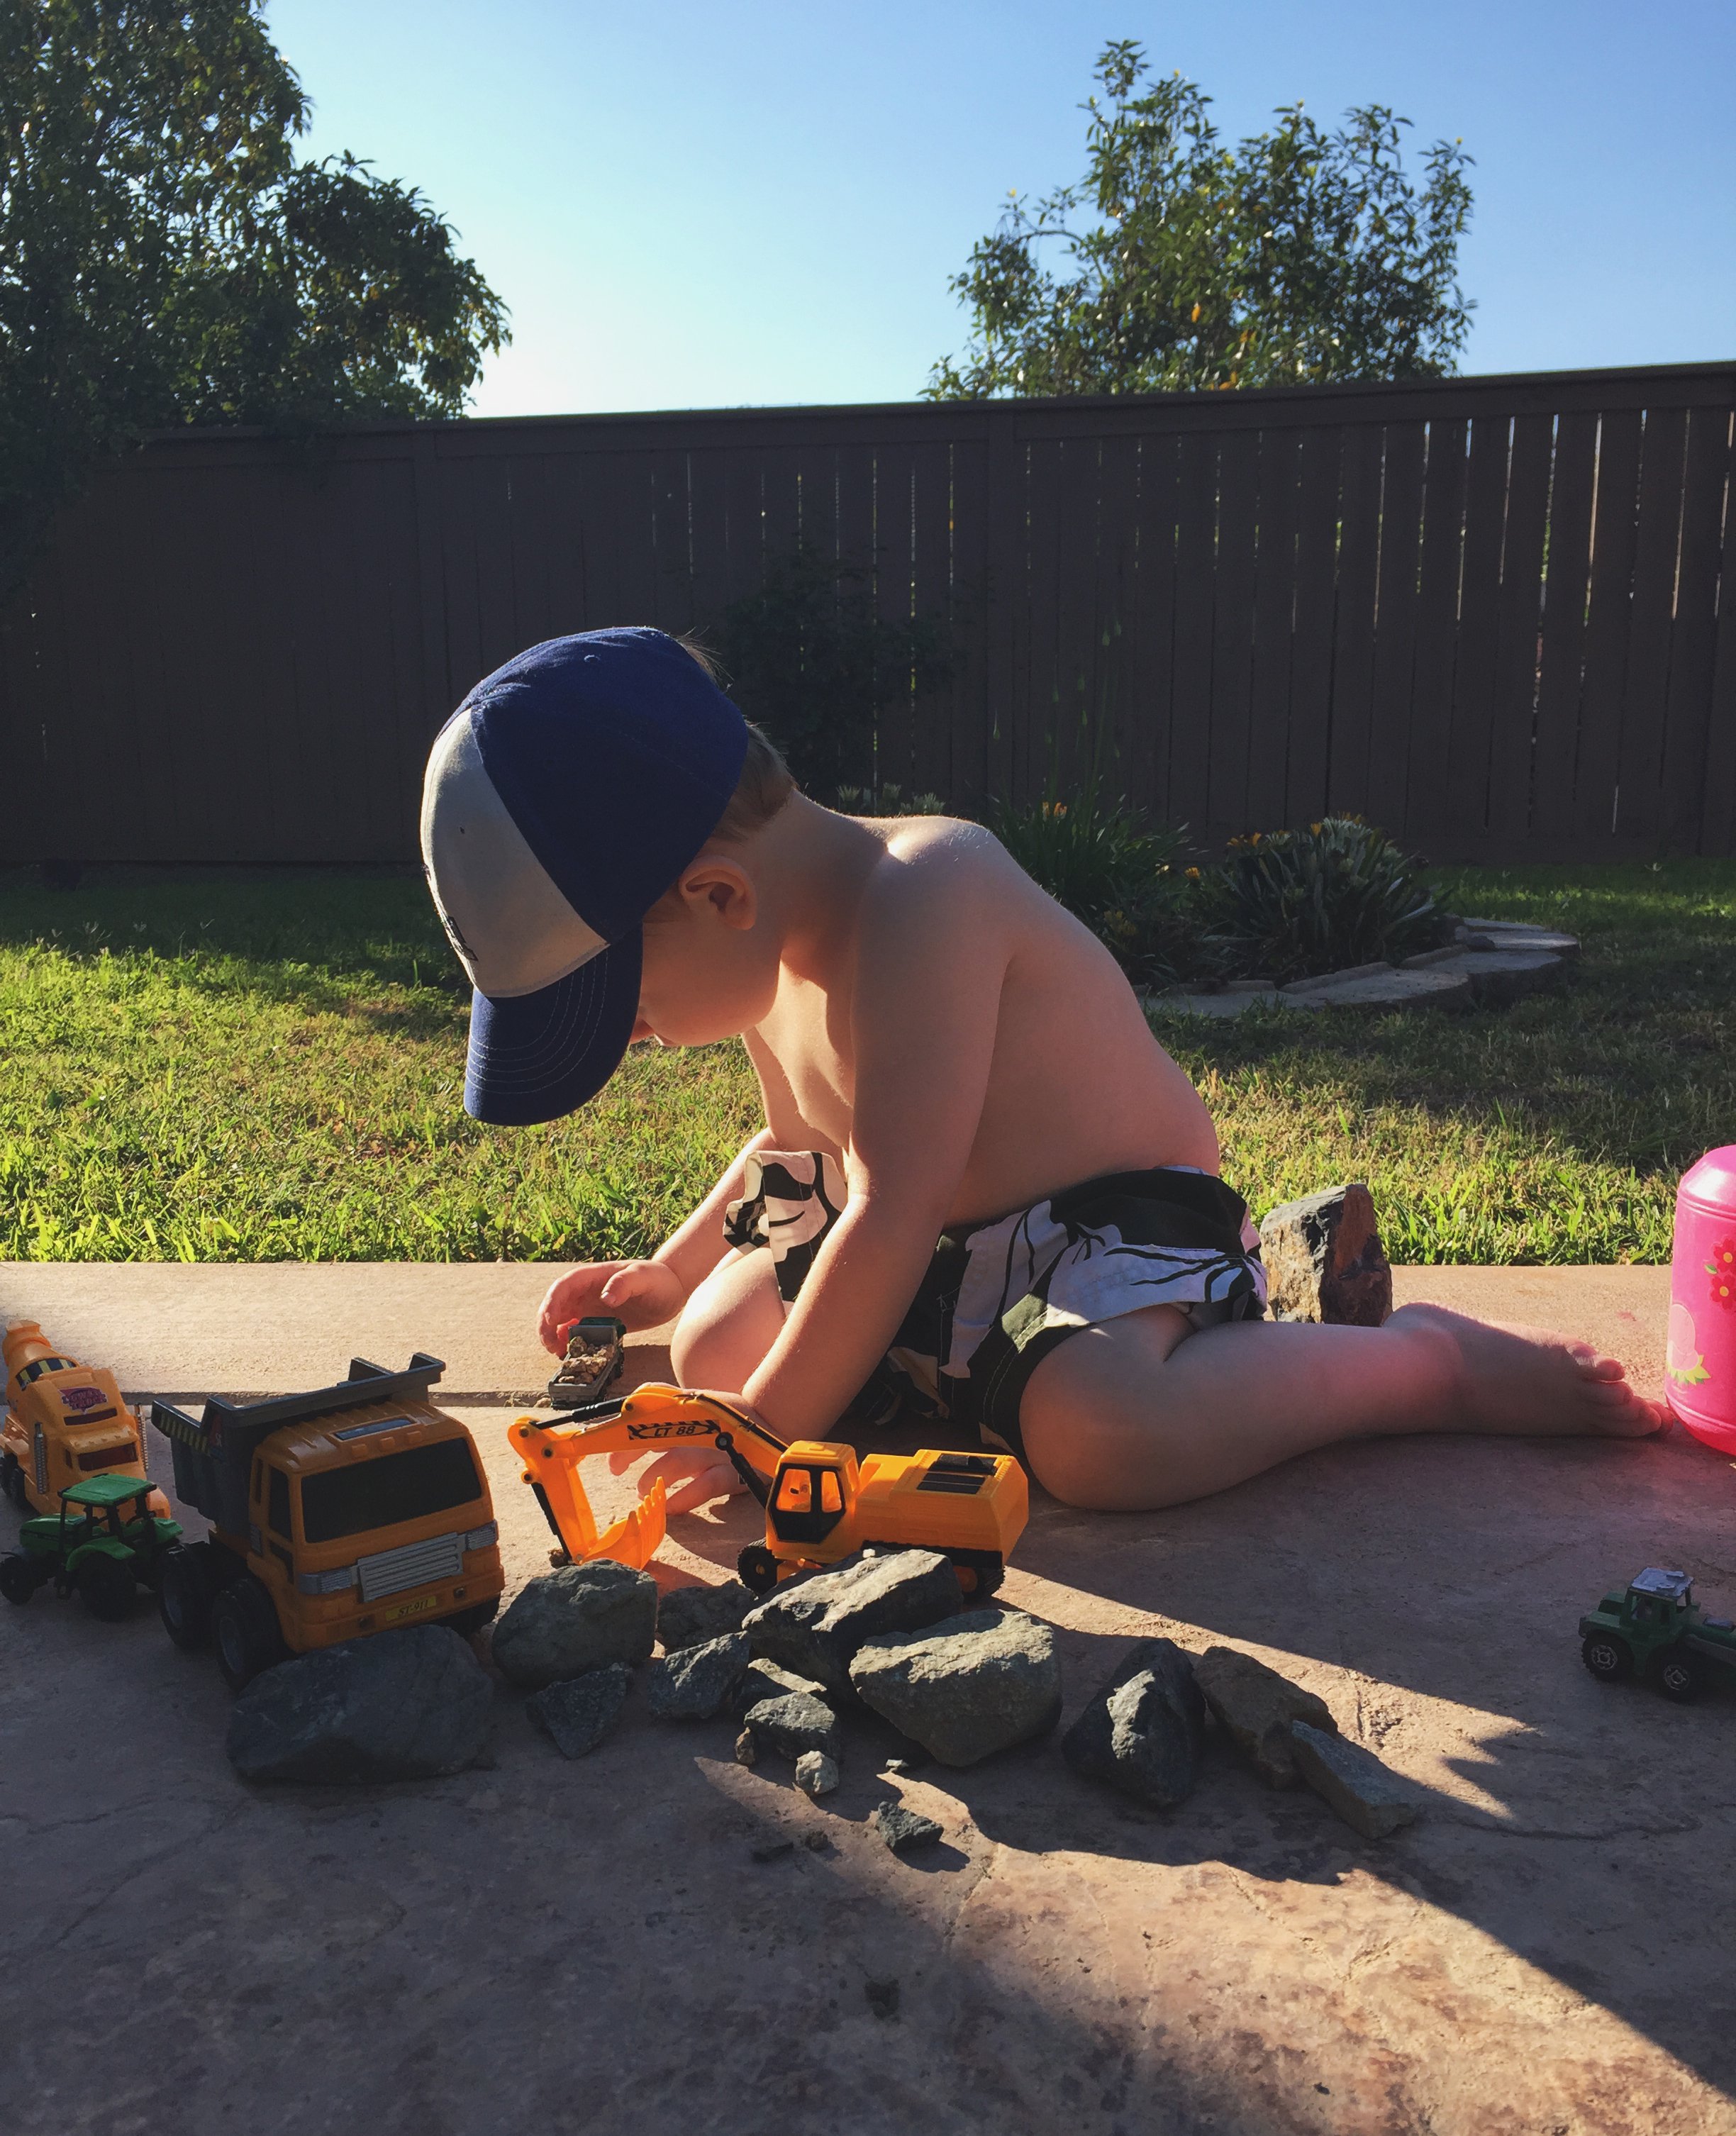

3. Don’t fight the light.
That said, sometimes beautiful moments happen and we have to roll with it. Don’t miss a moment by trying to move everyone to a more flattering location. Also, pay attention to the light that you DO have. You may be surprised what you end up with if you look for the light, and put it to work for you.


4. Avoid using the flash.
Always. Just forget it is there. Really. Unless you need a quick snapshot, or you love the look of red, evil eyes. If you are in a pitch dark place, and really think you need a photo, then the flash is just about the only way to do that. But I encourage you to remember my second point about moving or adding light when you can, or my third point about making the light that you DO have work to your advantage.
5. Watch your focus.
I see so many people post pictures where the subject is not in focus, but the background is. This is avoidable. I am only familiar with iphones, but I am sure most phone cameras allow you to choose where you want your focus. Usually it’s as easy as a tap on the screen. You should find out how to do this on your phone. You’ll never have a blurry blob of child on a tack sharp image of your carpet again. I mean, I’m sure you have lovely carpet and all, but I am betting that was not what you are hoping to preserve for posterity.
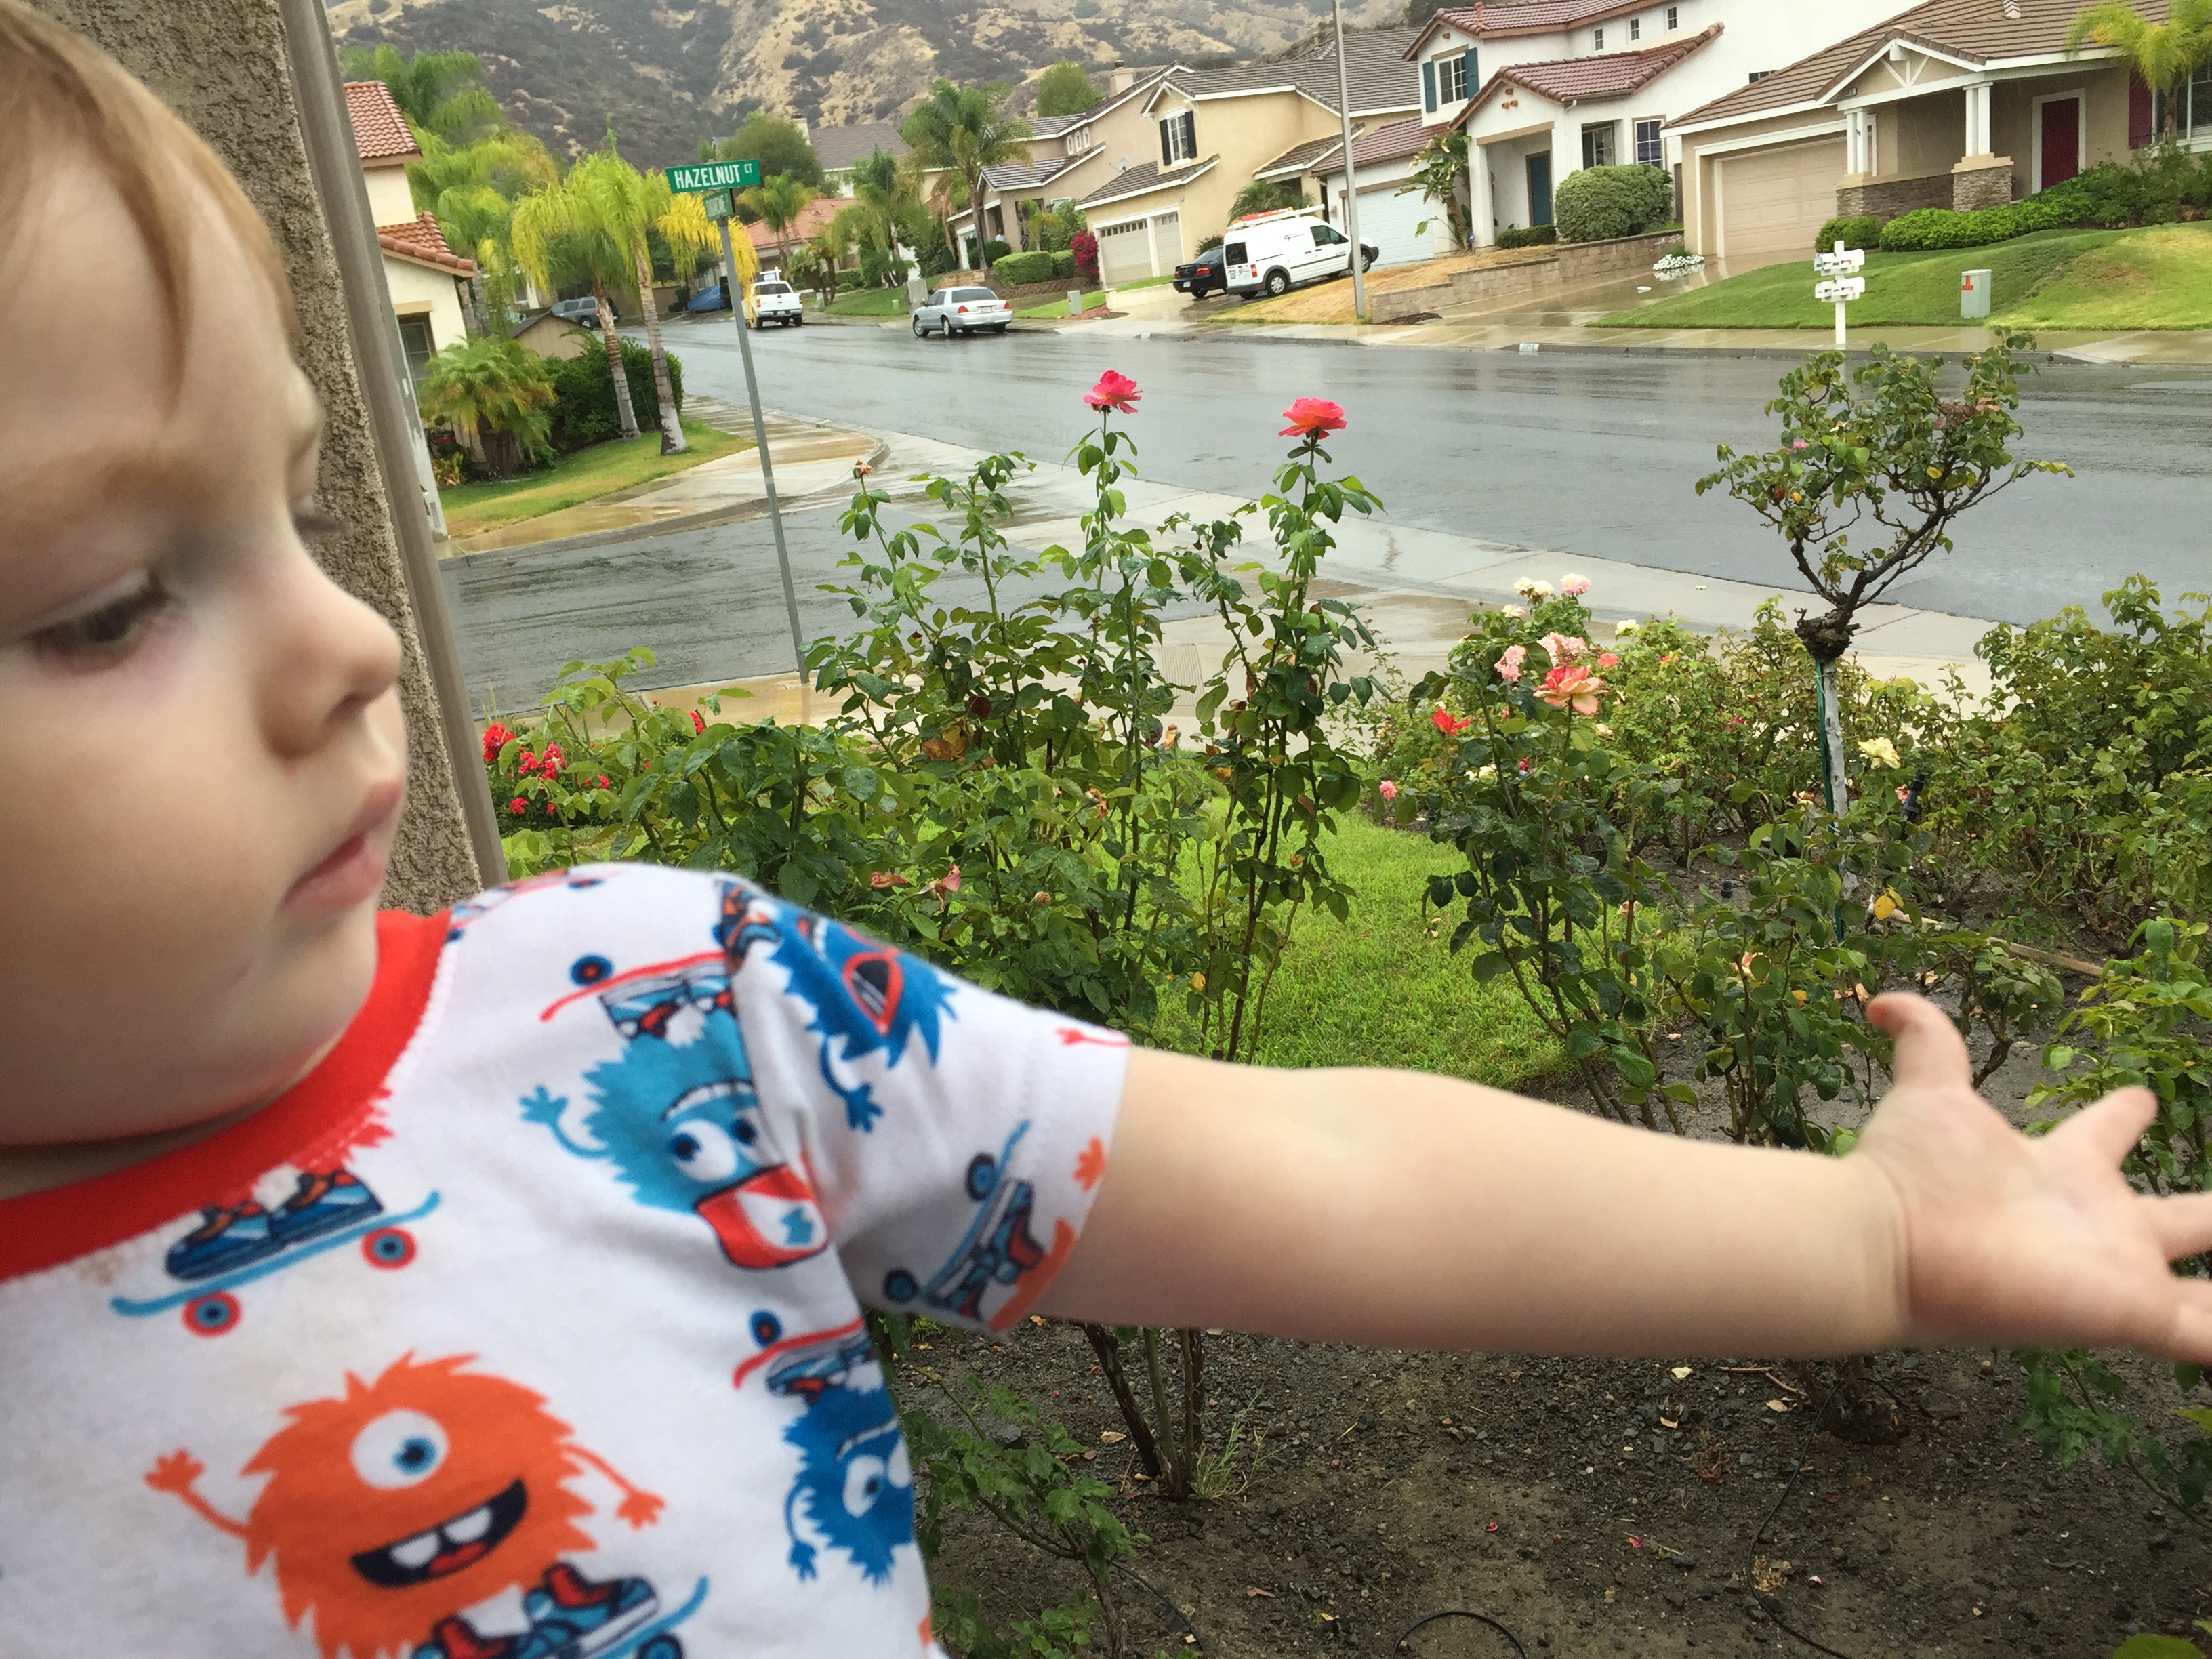
Notice that in this shot, the rose bushes behind Charlie are in focus, but Charlie is not. Oops. On my iphone, I can tap the screen to lock focus on Charlie, and try the shot again.
6. Don’t be afraid to get close.
Details can make for very interesting pictures. Your toddler’s chubby fingers, while choosing a cracker…..how your first grader holds her pencil…….scuffed up knees……tiny toes. Maybe you just focus on your son’s eyes as he watches bubbles, or just his hand reaching for them. Maybe get close enough to make your daughter’s look of concentration as she does her homework the focus, rather than just grabbing a shot of her at the table.


7. Back up for context.
In another, contradiction….try backing up and including some of your subject’s environment for context. Photographing your six month old, playing on the floor is awesome, but what if you back up to show how small he is in the room? Along with taking a shot of your son in the dugout while he waits for his turn at bat, back up a bit and get the whole scene. The kids watching through the fence, maybe sitting on the bench, swinging little legs with feet not touching the ground. Sometimes backing up and allowing more of the surroundings really helps tell the story.


8. Make necessary corrections.
Sometimes we take a picture in weird light and it looks yellow. Or green. Or whatever. That is a super easy fix. It takes just a few seconds and it can make an ok shot into a beautiful shot. Marge Simpson looks great yellow, most other people, not so much. Take a moment to correct color. Most phones allow you to do that right in your camera app. While you are there, poke around and experiment with the other edits your phone can make. See how upping the contrast or saturation affects a picture. Adding contrast can help with that flat, gray look that some phone pictures tend to have. Everyone knows what filters in Instagram can do to change the look of a photo. Think of these corrections as the first step. Do this before you start layering on filters, and you may find that you love your images just as they are. And if you do still want to add a fun filter, you will find that an image that you have taken a minute to color balance looks even more beautiful with your favorite filters applied.
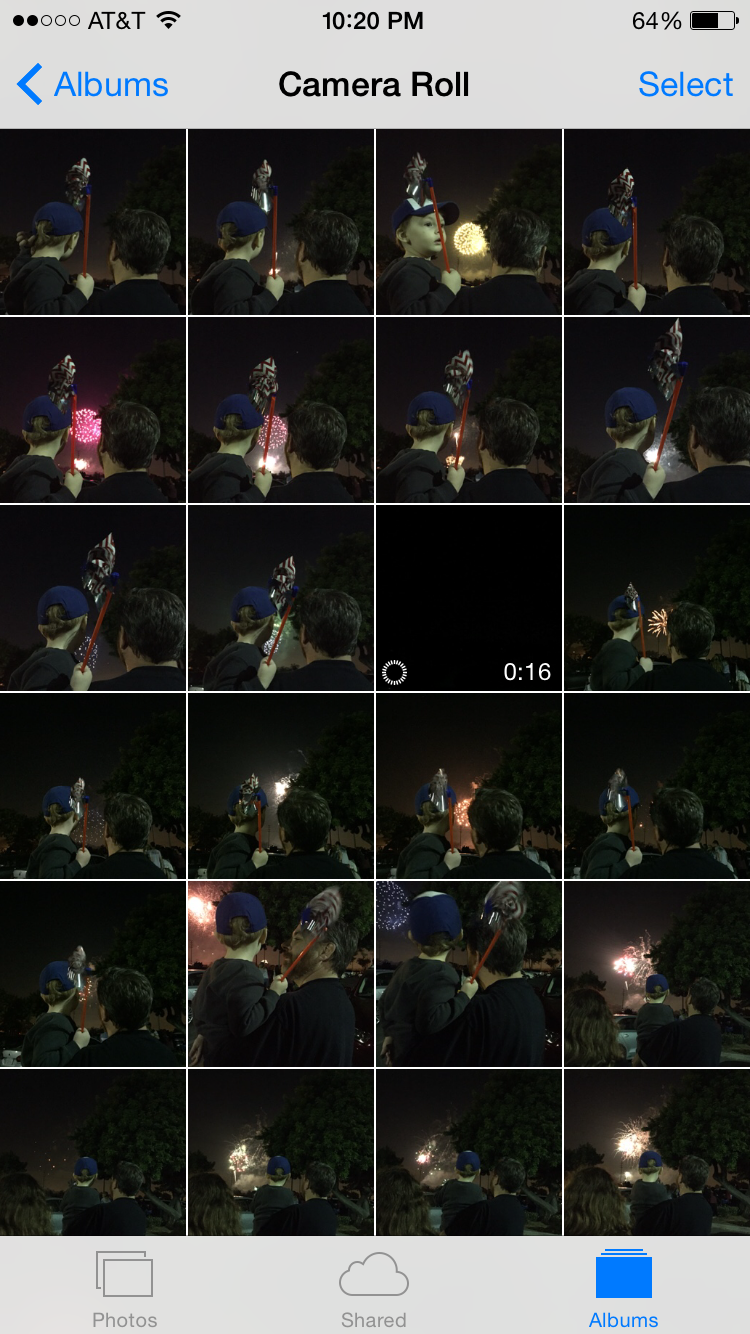
9. Take more than one shot.
This is pretty self-explanatory. The more shots you take, the better your chances of getting one you love. This is especially helpful in getting good facial expressions and avoiding a shot being ruined by blinking. You can always delete them later.

My daughter laughs at me when I take a million shots like this, but it is the best way to get a shot I am happy with.
10. I don’t really have a number 10.
I could have done something like make tip number 10 be “Have fun!” but I would hope I wouldn’t have to tell you that. Plus, it’s not really much of a tip. But I couldn’t very well have a list of 9 tips on it, now could I? So, maybe tip 10 is – put these images somewhere other than your phone. Back them up. Print them. There are places that print really cool things from phone photos. I will share some of those later this week.
